Preventing Automatic Updates by Filling Kindle Storage
Why Fill the Kindle’s Storage?
Kindle devices can automatically download and install firmware updates when they have enough free storage space. These updates can block jailbreaking methods. Automatic updates may occur when:
- You open the Kindle Store.
- You register your Kindle to an Amazon account.
- The device is connected to Wi-Fi, even briefly.
- The Kindle is rebooted while connected to the internet.
Filling the Kindle’s storage (leaving only 50-200 MB free) prevents the device from downloading and installing updates, as the update process requires more free space.
How to Fill the Kindle’s Storage
Delete
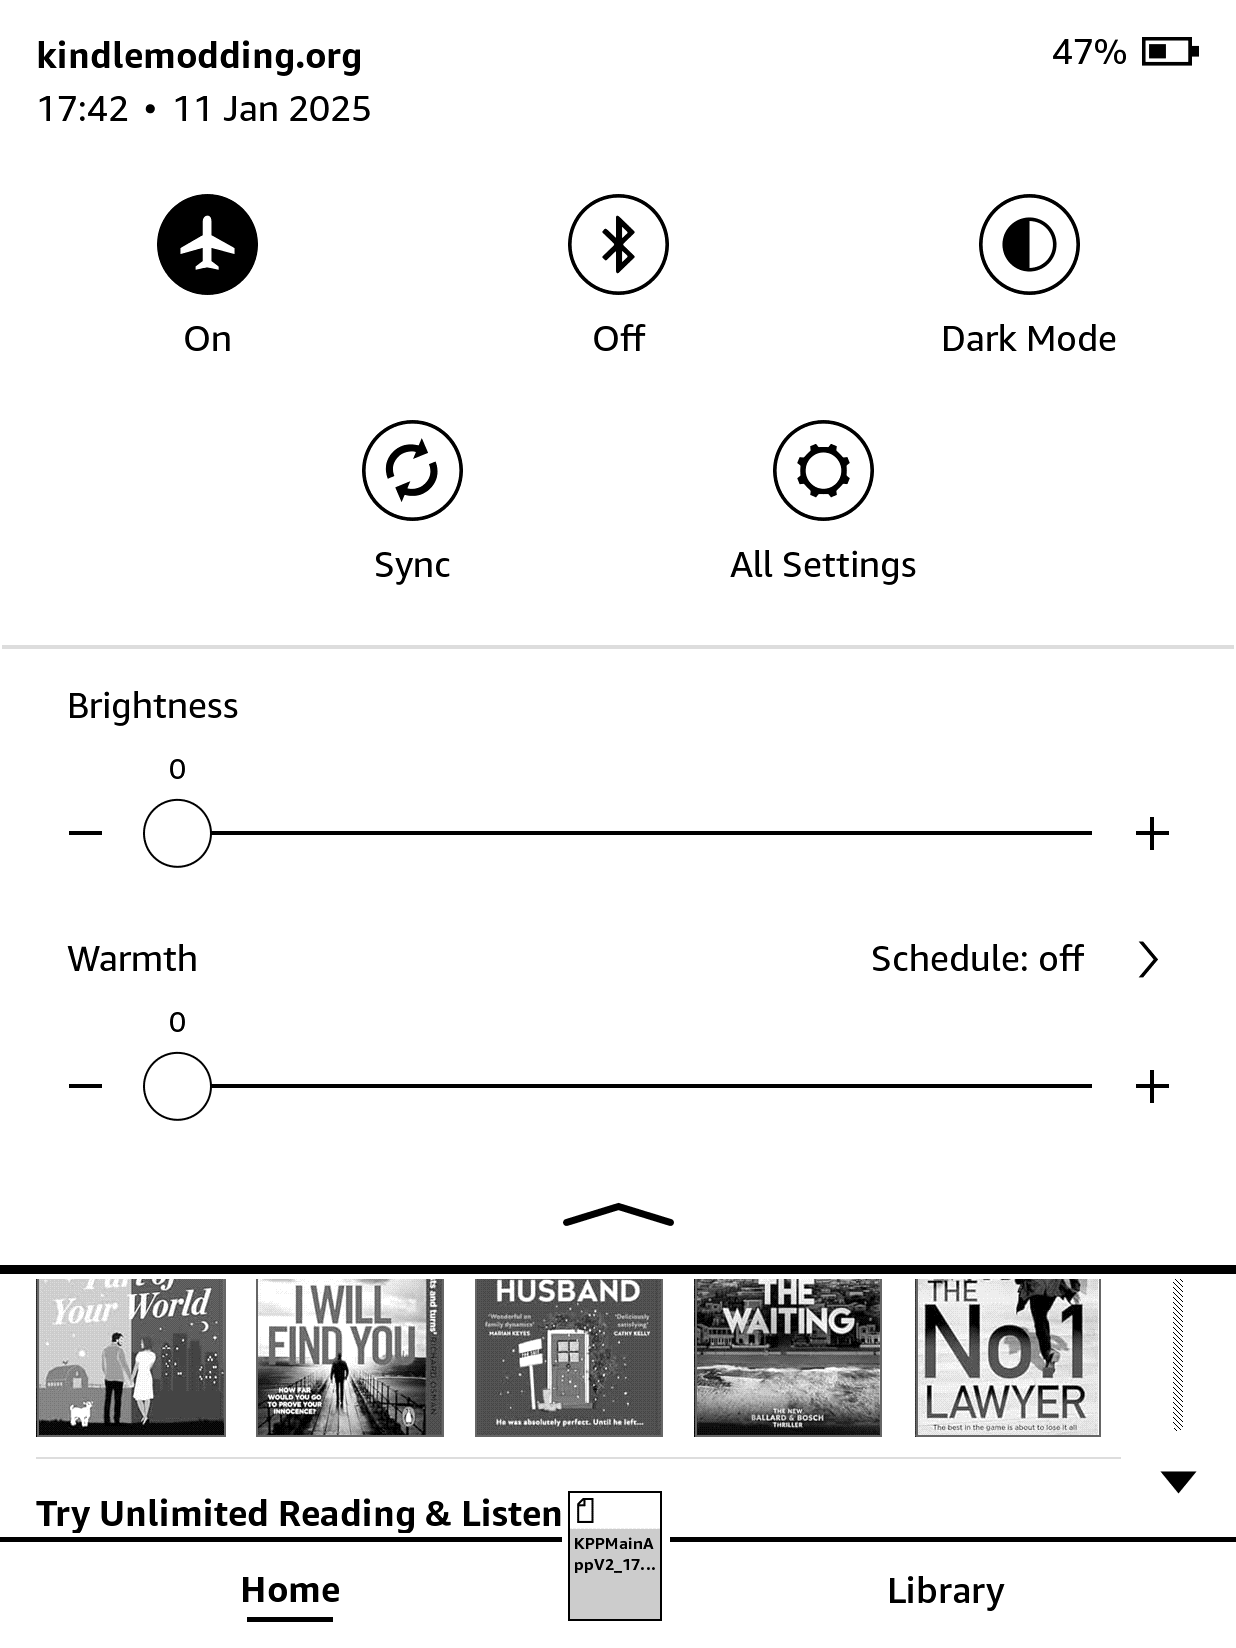
update-whatever.binORupdate.partial.bin, and turn on Airplane Mode!
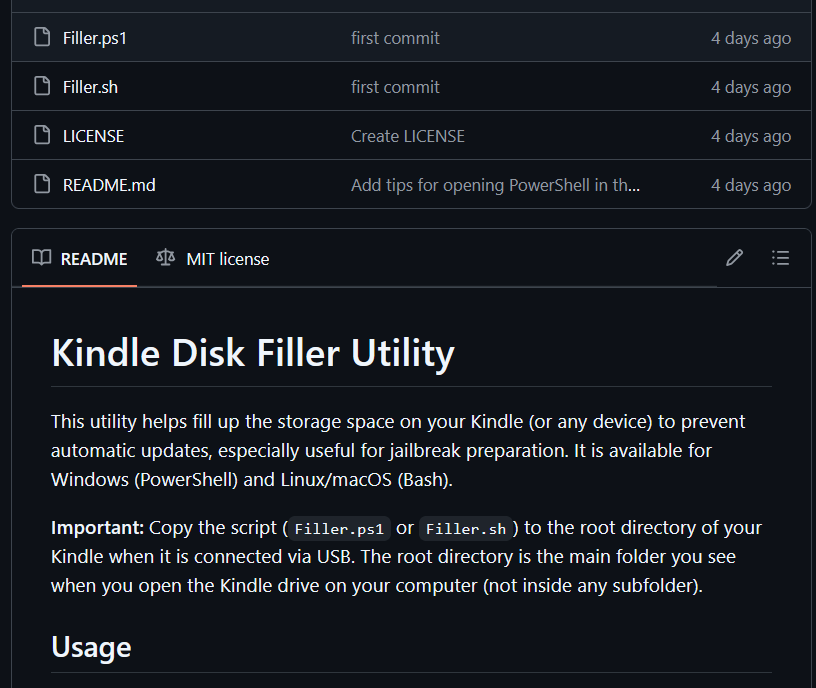
You can use a simple script to fill your Kindle’s storage with dummy files, leaving only a small amount of free space. This script is available in the Kindle-Filler-Disk GitHub repository along with other useful scripts for Windows, macOS, and Linux.
The script will not work on 11th gen Kindles and newer because these devices use MTP to connect to computers
If this is your situation, you have two options:
- Delete any stray files ending in
.bin, or have a similar name toupdate.bin.tmp.partialmanually at every step of the Jailbreak guide- Manually fill your Kindle. Download the Filler files that match your Kindle’s storage from the link below. Extract the files, then move them to the root of your Kindle (you can also save them on a separate folder). After doing so, make sure to leave only 50–200 MB of free space
2. Connect Your Kindle to Your Computer via USB
Use a USB cable to connect your Kindle to your computer.
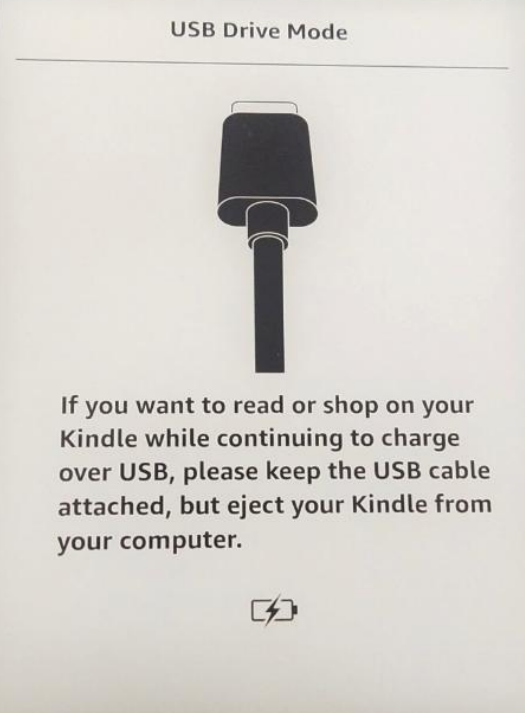
Wait for the Kindle to appear as a USB drive.
3. Download the Disk Filler Script
Go to the Kindle-Filler-Disk GitHub repository.
Download the appropriate script for your operating system:
Filler.ps1macOS/Linux:
Filler.sh 4. Move the Script to Your Kindle
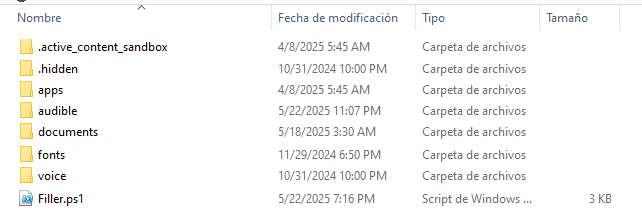
Copy the downloaded script file to the root directory of your Kindle (the main folder you see when you open the Kindle as a USB drive).
 Windows:
 Filler.ps1macOS/Linux:
Filler.sh 5. Run the Script
Windows:
Open File Explorer and navigate to your Kindle drive.
Right-click Filler.ps1 and select Run with PowerShell.
If you see an execution policy error, open PowerShell in the Kindle drive and run:
powershell -ExecutionPolicy Bypass -File .\Filler.ps1macOS/Linux:
Open a terminal in the Kindle drive where Filler.sh is located.
Make it executable if needed:
chmod +x Filler.shRun the script:
./Filler.sh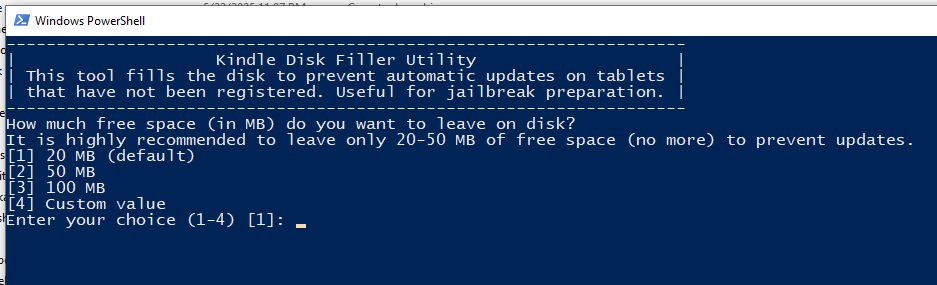
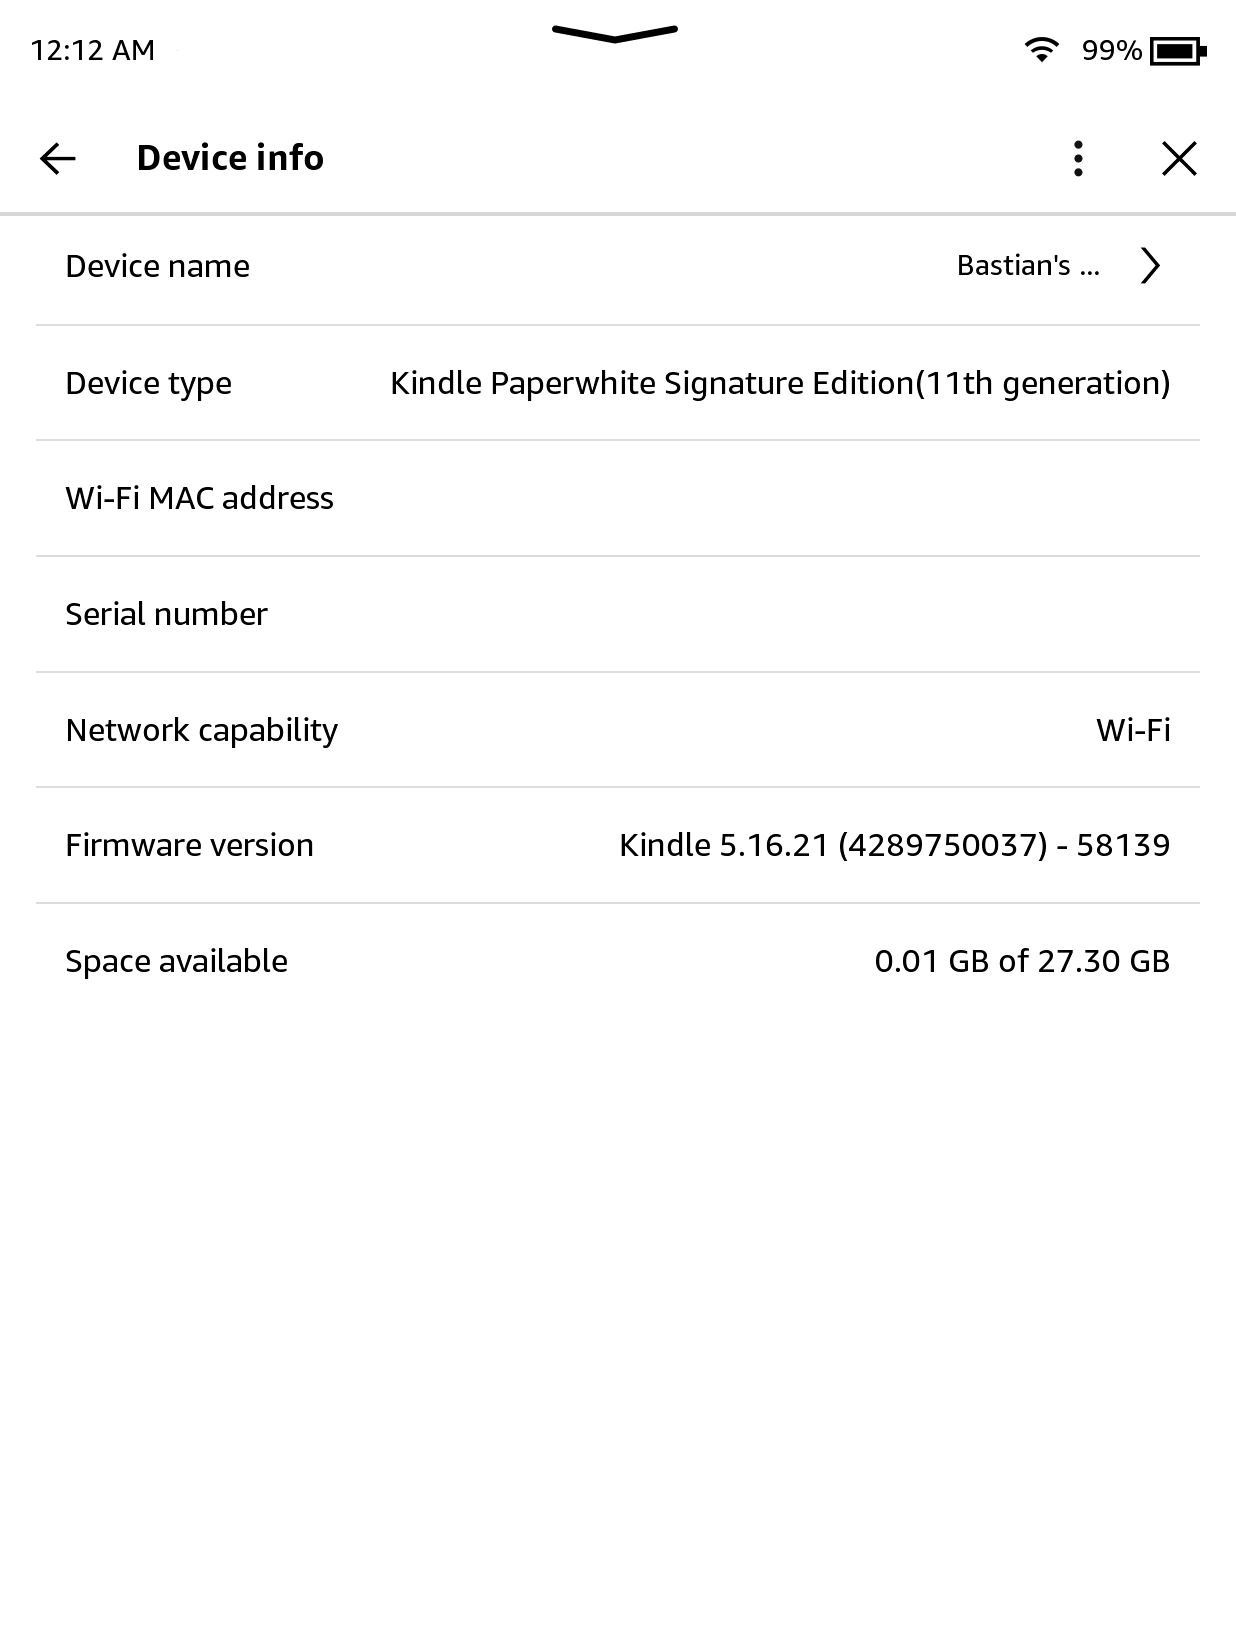
6. Safely Disconnect and Verify Storage
Eject your Kindle from your computer.
On your Kindle, go to Settings > Device Options > Device Info (or similar).
Check that the available storage is 20 MB or less.
7. Register Your Kindle
With storage nearly full, connect to Wi-Fi and register your Kindle to your Amazon account. The device will not be able to download updates due to lack of space.
8. Enable Airplane Mode Again
Immediately after registration, enable Airplane Mode to prevent any update attempts.
Proceed with the next jailbreak steps (such as WinterBreak).
Important Note: After filling your Kindle's storage, check its contents in the main folder (root directory) and delete any files ending with .bin or named update.bin.tmp.partial. These files are automatic update attempts by the Kindle and should be removed to prevent the device from trying to install an update when you free up space.
After Jailbreak: Freeing Up Space
Once you have completed the jailbreak process, you can safely delete the fill_disk folder to recover storage space. You may also remove only some of the files if you want to keep the disk nearly full for a while longer.
-
Windows:
Open File Explorer and navigate to the folder containingfill_disk. Delete thefill_diskfolder, or remove individual files inside it. -
Linux / macOS:
Open a terminal in the folder containingfill_diskand run:rm -rf fill_diskOr remove individual files as needed.
This will restore your available disk space.
For more scripts and detailed guides, visit the Kindle-Filler-Disk GitHub repository.